First step: Creating a Unit Test Project
1. Open Visual Studio, click ‘File’ and create a new ‘Native Unit Test Project’. This will create the unit test project, class and method.
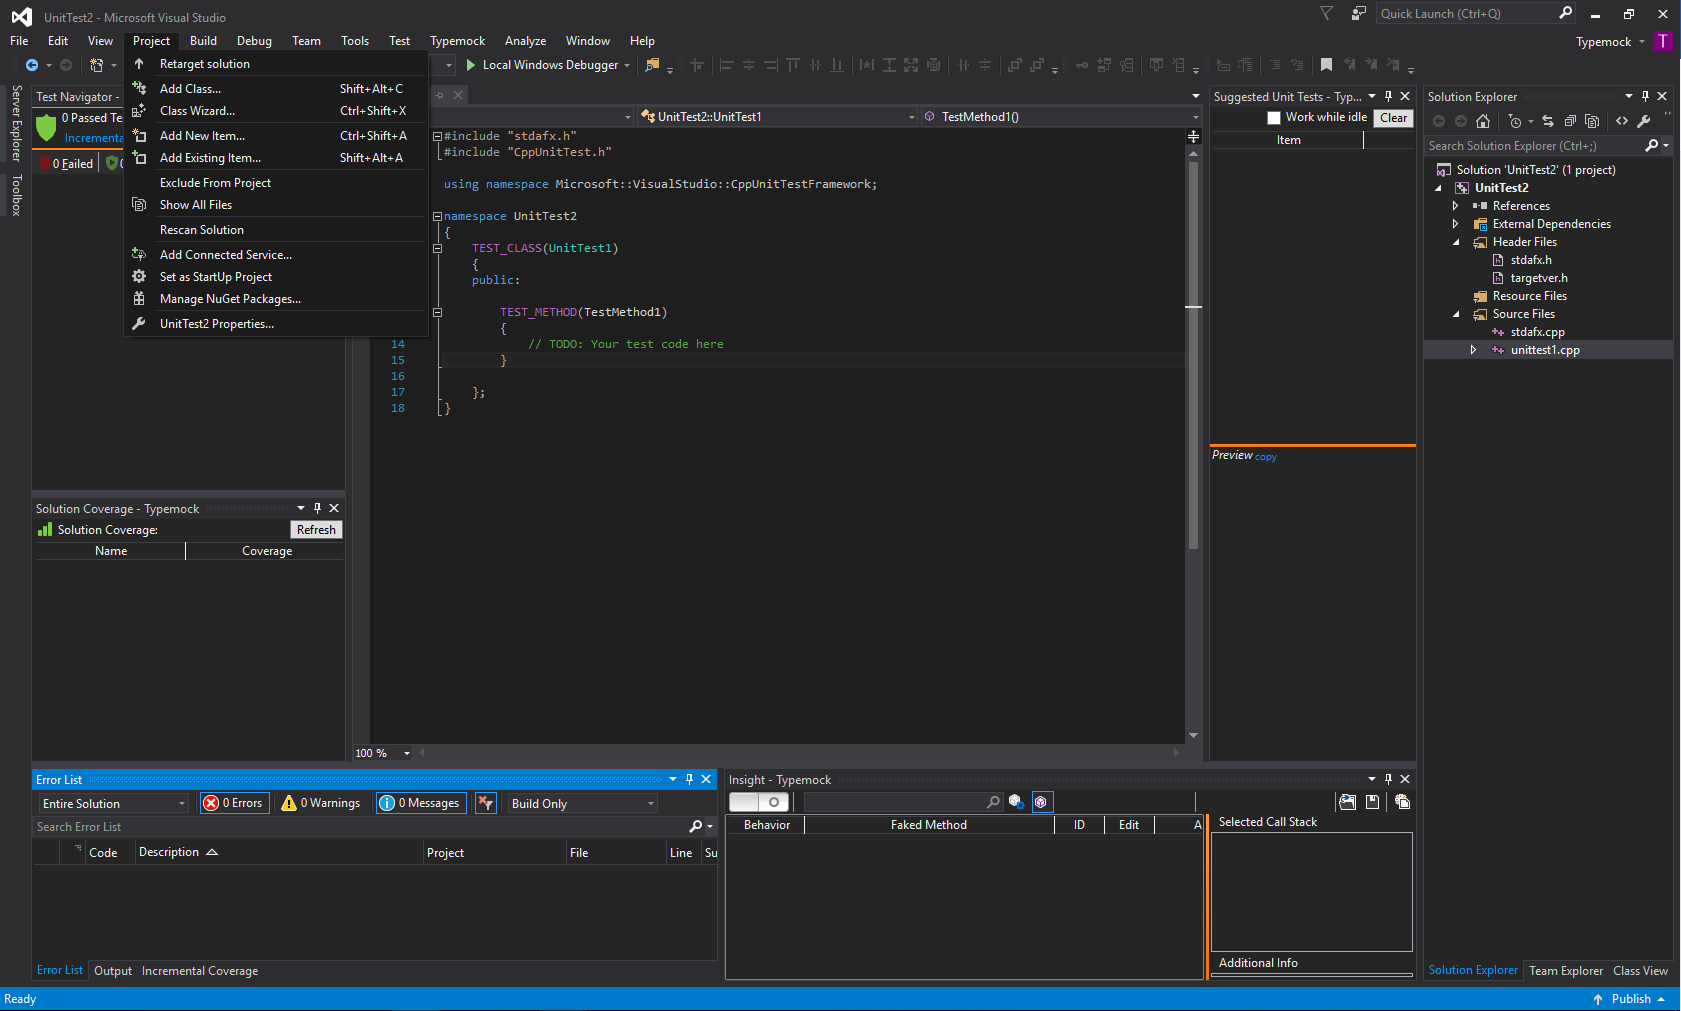
2. Add Typemock References:
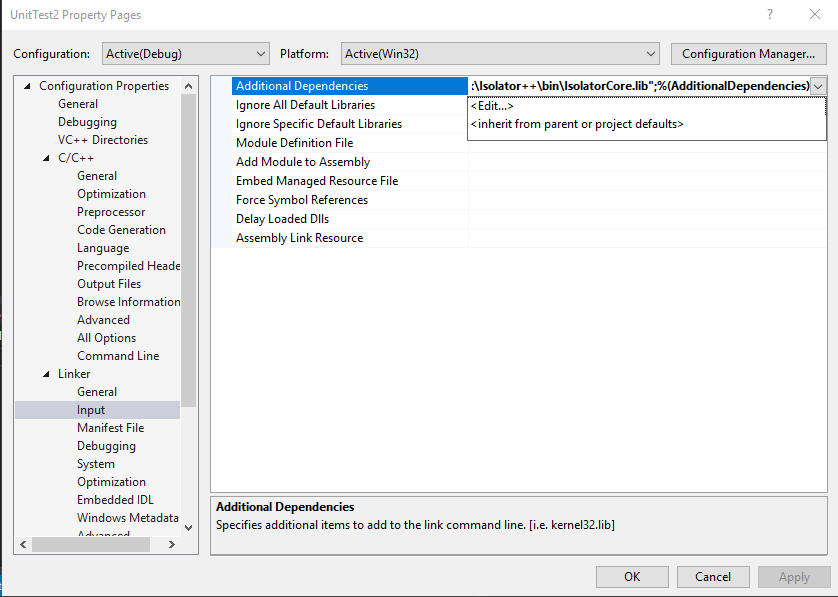
On ‘Project’ click on ‘Properties’.
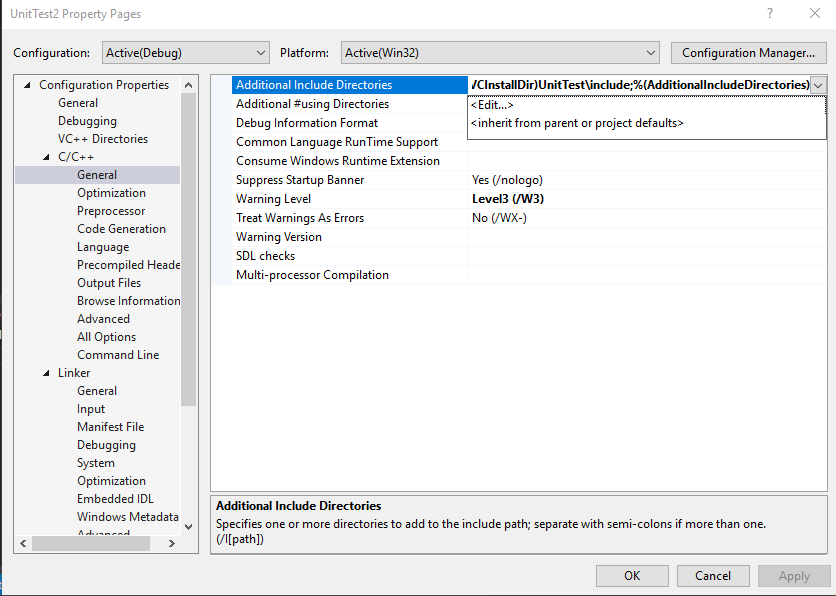
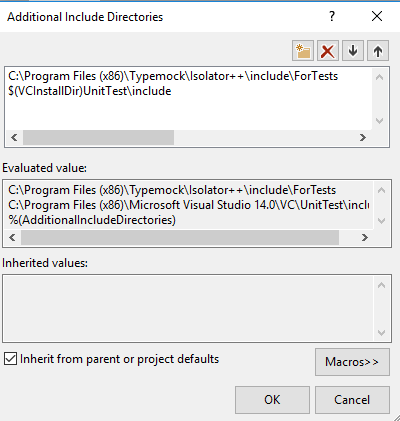
a) Include the .h file:
Under the C/C++ General section, in the Additional Include Directories add:
C:\Program Files (x86)\Typemock\Isolator++\include\ForTests
b) Include lib:
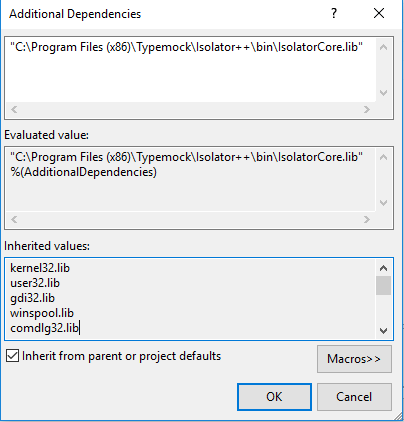
Under the Linker Input Section, in the “Additional Dependencies” add:
“C:\Program Files (x86)\Typemock\Isolator++\bin\IsolatorCore.lib”
Note: for 64bit use: “$(ProgramFiles)\Typemock\Isolator++\bin\x64\IsolatorCore.lib”
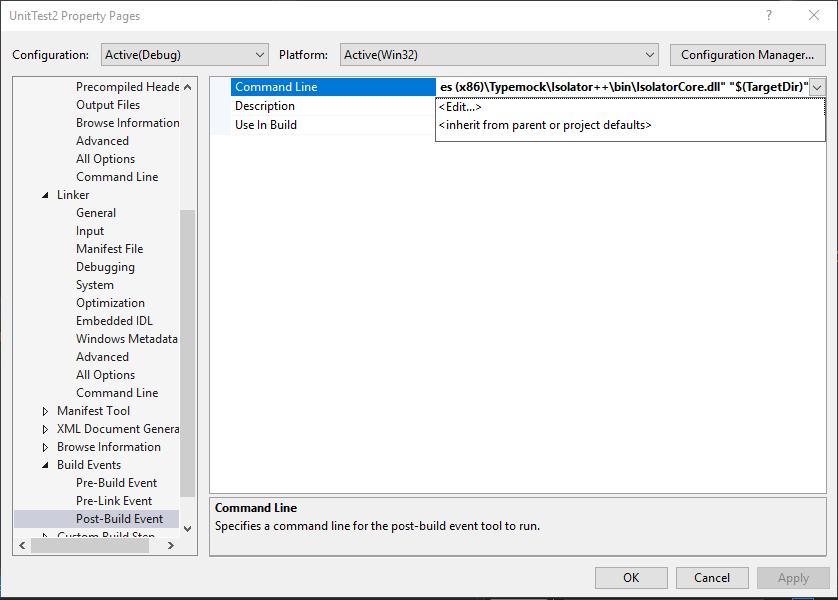
c) Copy dll to output:
Under Build Events, Post-Build Event, add this Command Line:
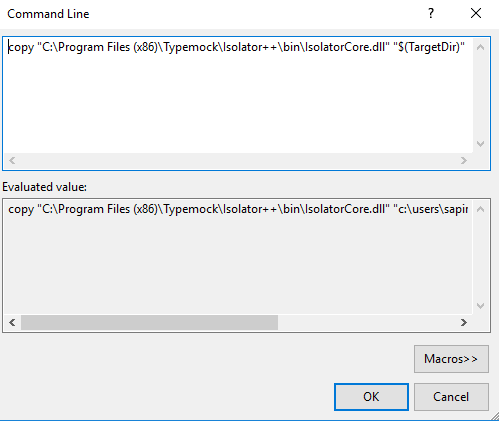
copy “C:\Program Files (x86)\Typemock\Isolator++\bin\IsolatorCore.dll” “$(TargetDir)”
Note: for the 64 bit version copy the dll from the x64 folder
Second Step: Writing Isolated Unit Tests:
1. In the unit test class add the following:
#include “isolator.h”
2. Write your test using these three parts:
a) Arrange – setup behavior of your fakes
b) Act – call your code
c) Assert – check that your code works
3. Remember to always add ISOLATOR_CLEANUP() After every test.
Simple test Examples
in the following examples we use the following methods of class Person:
|
1 2 3 4 5 6 7 8 9 10 11 12 13 14 15 16 17 18 |
char* Person::GetName() { throw; } bool Person::Ping() { return CanPing(true); } bool Person::CanPing() { throw; } bool Person::CanPing(bool force) { throw; } |
1. In this example, we both change the behavior of the public method, and assert it was called.
|
1 2 3 4 5 6 |
TEST_METHOD(AssertingACall) { Person person; WHEN_CALLED(person.GetName()).Return("Jerry"); ASSERT_WAS_CALLED(person.GetName()); } |
2. In this example, we fake the private overloaded method CanPing
|
1 2 3 4 5 6 |
TEST_METHOD(ChangingBehaviorOfPrivateOverloadedMethod) { Person* person = new Person(); PRIVATE_WHEN_CALLED(person, CanPing, TYPEOF(bool)).Return(true); Assert::IsTrue(person->Ping()); } |
Happy unit testing!