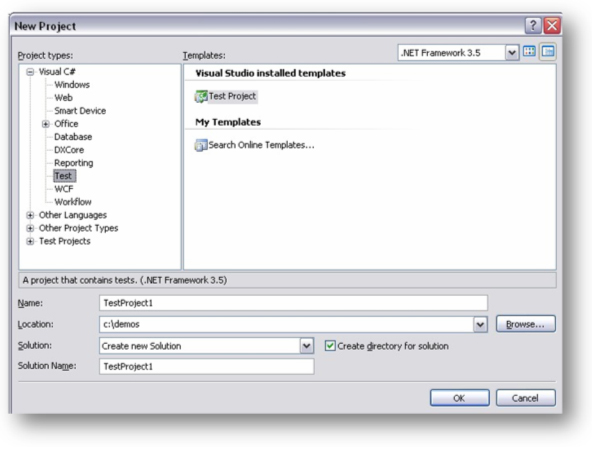
First, make sure you grab the latest version from our ‘Download’ page. Once you’ve installed that, just open Visual Studio, click ‘File’ and create a new Test Project.
Right-click the new project, select ‘Project Properties’, click ‘Add References’ and add ‘Typemock Isolator’ and ‘Typemock Isolator – C# API’. It’s that simple.
Now that you’ve got Isolator up and running, you can jump straight into writing your unit tests, with the example below, or take a look at the feature list, to see the things you can pull off with Isolator.
Introduction to Isolator
This demo shows you a few basics of using Isolator – how to write a simple test to fake an external dependency. The code includes two objects and shows how Isolator makes testing things simple, even when not all of the production code is implemented correctly.